- No Obligations
- Stop Paying Too Much For Your Contractor
- No Spam Calling
- Screened & ID Checked Contractors only!
How To Prep Garage Door For Painting
0
 How To Prep Garage Door For Painting
earlyexperts.net
How To Prep Garage Door For Painting
earlyexperts.net
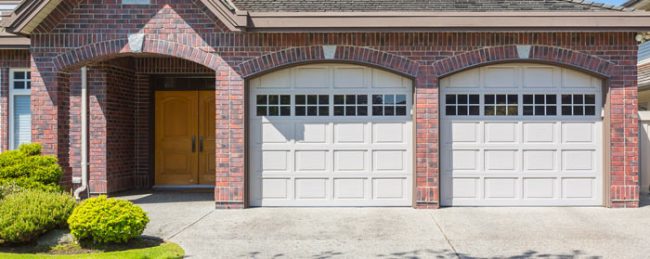
A garage is an important part of many homes. It’s not just the place where you keep your car safe; for many people, it is also a place that provides extra storage for items that they don’t use on a daily basis. However, apart from the practical uses that your garage can be put to, it also provides aesthetic value to the whole property. This is the reason why you need to ensure that it looks great all the time, and there is no better way of ensuring this than giving its door a new coat of paint once in a while.
It’s easy to look at a freshly painted garage door and be intimidated into thinking that you need great skill to give it such a look. This is simply not the case as painting a garage door is something easy; if you follow a few tips. One of the most important ones is preparing the door for painting. This article provides general tips for painting both wooden and metal garage doors.
Why prep the door?
The garage door is susceptible to the elements such as water, dust and some parts of it may have molds from remaining wet for extended periods. Also, as you start your car and sometimes leave it idling in the garage to rush back into the house and pick something, the door may have some residue from emissions coming out of the exhaust. Just applying a coat of paint on the garage door may look great in the first few days, but you are guaranteed the paint will soon have bubbles, bumps, and start peeling off before too long.
Step 1: Gather the tools
If you don’t want to end up rushing to the shops on a Sunday to discover that they are closed, start by putting together a list of the tools and materials you will need to prep the door and subsequently do the painting. In your list include the following items:
- Clean cloth
- All-purpose cleaner
- Dust Musk
- Cleaning bucket
- Sandpaper
- Painter’s tap
- Drop sheets
- Gloves
- Paint scraper
- Chemical paint striper
- Sanding sponge
Step 2: Pick a dry day
It’s important to ensure that you prep your garage door for painting on a dry sunny day. You don’t want to end up running for cover when only half of the job is done. Most of the prep work will involve cleaning and sanding the door. It would not be very helpful to clean the door only for it to get dirty again due to the rain. Ensure the day has a gentle breeze so that the garage door will dry fast enough after your clean it with soapy water. Try to prep on a day when you can dedicate all the time to the job.
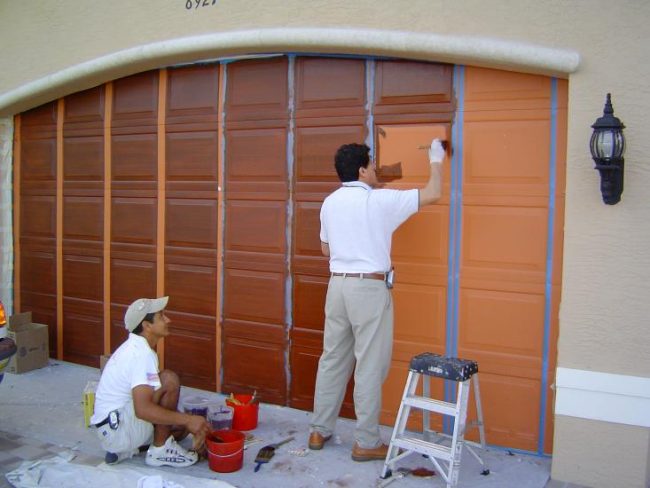
Step 3: Clean the door
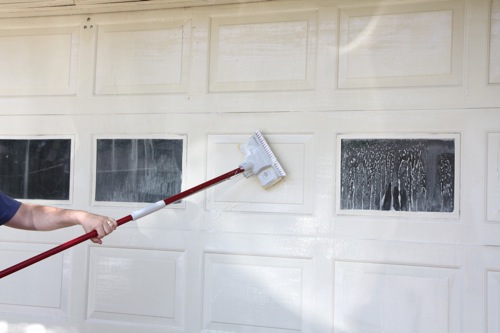
Once you are happy with the weather conditions, it’s now time to clean the door. Wear your dust mask, even when there doesn’t seem to be lots of dust. Using a clean cloth, wipe away any dirt and dust which could be stuck on the surface of the garage door. Ensure that you get to all the corners because it’s easy to overlook such places. Pour your all-purpose cleaner into a bucket of water and start washing the garage door from the top to the bottom using your clean cloth. You can always rinse the door with a hosepipe. To facilitate the drying process, use a clean cloth to dry the garage door. Wait until the door is totally dry before you go to the next step.
Step 4: Sand down any bumps
Once the door is dry, it’s time to sand down the surface so that you can remove any bumps and stubborn stains. Put your drop sheets on the floor so that it’s easy to remove the dust when you’re done. If there is any furniture in the garage, also cover it with drop sheets. You don’t necessarily have to buy the drop sheets; old newspapers can do the job just as well. Take the car out of the garage so that you don’t get it dirty.
Remember to wear your dust mask all the time when you do this as the small dust particles could be dangerous. Sand down the surface until it feels smooth when you run your hand on it. When you are happy with the surface that you want to paint, use a clean cloth to clean the surface so that no dust particles are left on the door. Remove the dusty drop sheets because you do not want any dust sticking back once you start painting.
If you are painting a metal door, you will need to look specifically for areas that may have rust. Sand this down until the metal is clean and exposed. Remember to apply metal primer to exposed places to protect the door from rusting. On wooden doors, if there are big cracks which you cannot sand down, you can cover such places with crack filler suitable for wood. Wait for it to dry and then sand it smooth.
Step 5: Cover the areas you do not want to paint
If you want to do a clean job, you will need to cover areas where paint may accidentally be spread. Such areas include the frames or areas where the door meets the wall. Cover the bricks around the door. If this is done well, you’ll not need to spend hours cleaning those places once you’re done painting the garage door.
The process of lining up the tape is one you need to do with the utmost care. If you do not do this well, you risk ending up with edges that are not even; defeating the whole purpose of repainting the door in the first place.
Even though prepping your garage door may seem like a pain in the beginning, doing it well will save you a lot of time once you are painting,
Most Read


Faux Brick Wall: The Best Tips to Make It Look Real!
Apr 06, 2021
The Right Time to Fertilize Your Lawn
Apr 06, 2021