- No Obligations
- Stop Paying Too Much For Your Contractor
- No Spam Calling
- Screened & ID Checked Contractors only!
How to Remove a Bathtub Drain: Tutorial
0
 How to Remove a Bathtub Drain: Tutorial
earlyexperts.net
How to Remove a Bathtub Drain: Tutorial
earlyexperts.net
There are two possible scenarios that would have led you to this post. The first, you were casually browsing the blog, came across this title and thought to yourself, hm…now, why would I ever need to remove the drain in my tub?
You scrolled on a bit, but your curiosities got the best of you, so you back tracked, and hopefully, by the end of the article you will be prepared should you ever find yourself in a situation where you are faced with the task.
In the second scenario, you came here seeking answers because you are replacing your current tub, prepping your bathroom for plumbing repairs, augering your drain, or simply running a plastic Zip-it to remove hair.
The drain assembly sits below the metal screen, and typically is attached to the tub itself. It runs directly into the drain pipe, which after running through your home’s plumbing, enters a sewer or septic system.
In theory, removing the drain should be as easy righty-tighty, lefty-loosey. But there are many factors at play that can make this process pretty brutal. The fact of the matter is running water makes everything more difficult. Rust, plumber’s putty, and other general buildup act like concrete over time.
Add in the tight quarters in which you’ll be working and you’re going to need a set of tools and some guidance.
In this article, we’ve outlined a step by step guide, along with everything you will need to free up your tub of that pesky drain and move on to the next phase of the job.
Materials
The facilitate drain removal, you are going to need to recruit some help.
Plug Wrench: This is a specialized wrench designed for the purpose of taking hold and turning out those especially stubborn plug drains. You can likely pick one of these up at a local hardware store. While it is always difficult to justify a new purchase for the sake of one job, this is also a great way to build up your stockpile of tools. After all, you never know what you are going to need and when you are going to need it.
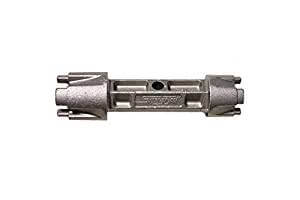
If you do not want to buy the drain plug, a regular set of needle nose pliers, working in cooperation with a set of conventional pliers serve the same process, thought not as efficiently. That said, you may not have a locking plier, which you will need, and so you would have to make an extra trip to the hardware store regardless.
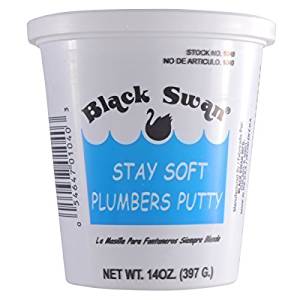
Plumbers Putty: This is a cawk like substance that is specific to bathrooms, kitchens, and other areas of your home where water is often left to stand. It is pliable, and never truly dries hard, so it is able to shift and move while still repelling water and sealing pipes and fittings.
Towels…and lots of ‘em: As your tub or shower is likely porcelain or tile, laying towels out along the surface mitigate the risk of dropped tools damaging the area you are trying to fix in the first place. They will also help to absorb and residual moisture so you can work in a relatively dry environment.
The Process
Remove the Tub Stopper and Screen: Some tubs have a stopper attached, sometimes by a small chain. This is there so that the user has the option to plug the drain so water can accumulate and the homeowner can take a bath.
The stopper can be a traditional rubber plug or a metal implement that is a part of the drain assembly itself. In the latter case, it is controlled by a metal tab on the water spout. If it is attached, simply unscrew it and set it aside.
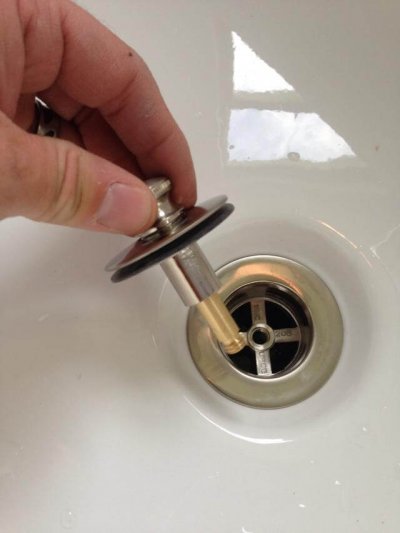
The screen is exactly what it sounds like: a metal plate that sits over the drain and strains water and soap residue from the stuff not meant to end up in pipes like large clumps of hair. The screen is not usually screwed in and can be pried off with a flat screwdriver.
Clamp the Drain: At the bottom of your drain, you will see an intersection of two pieces of thin metal in the shape of either a cross of an X. This is what needs to be turned out.
If using a plug wrench, you may have an easier time of this. A plug wrench is a relatively small wrench that is specially made to fit the different drain designs (X or cross). As previously stated, it is not a bad idea to go ahead and make this purchase. For one, you will always have it if you are expecting to remove the same drain, or perhaps other drains in your house, in the near future. In addition, because of the plug wrench’s specific design, the chances of breaking the cross is less.
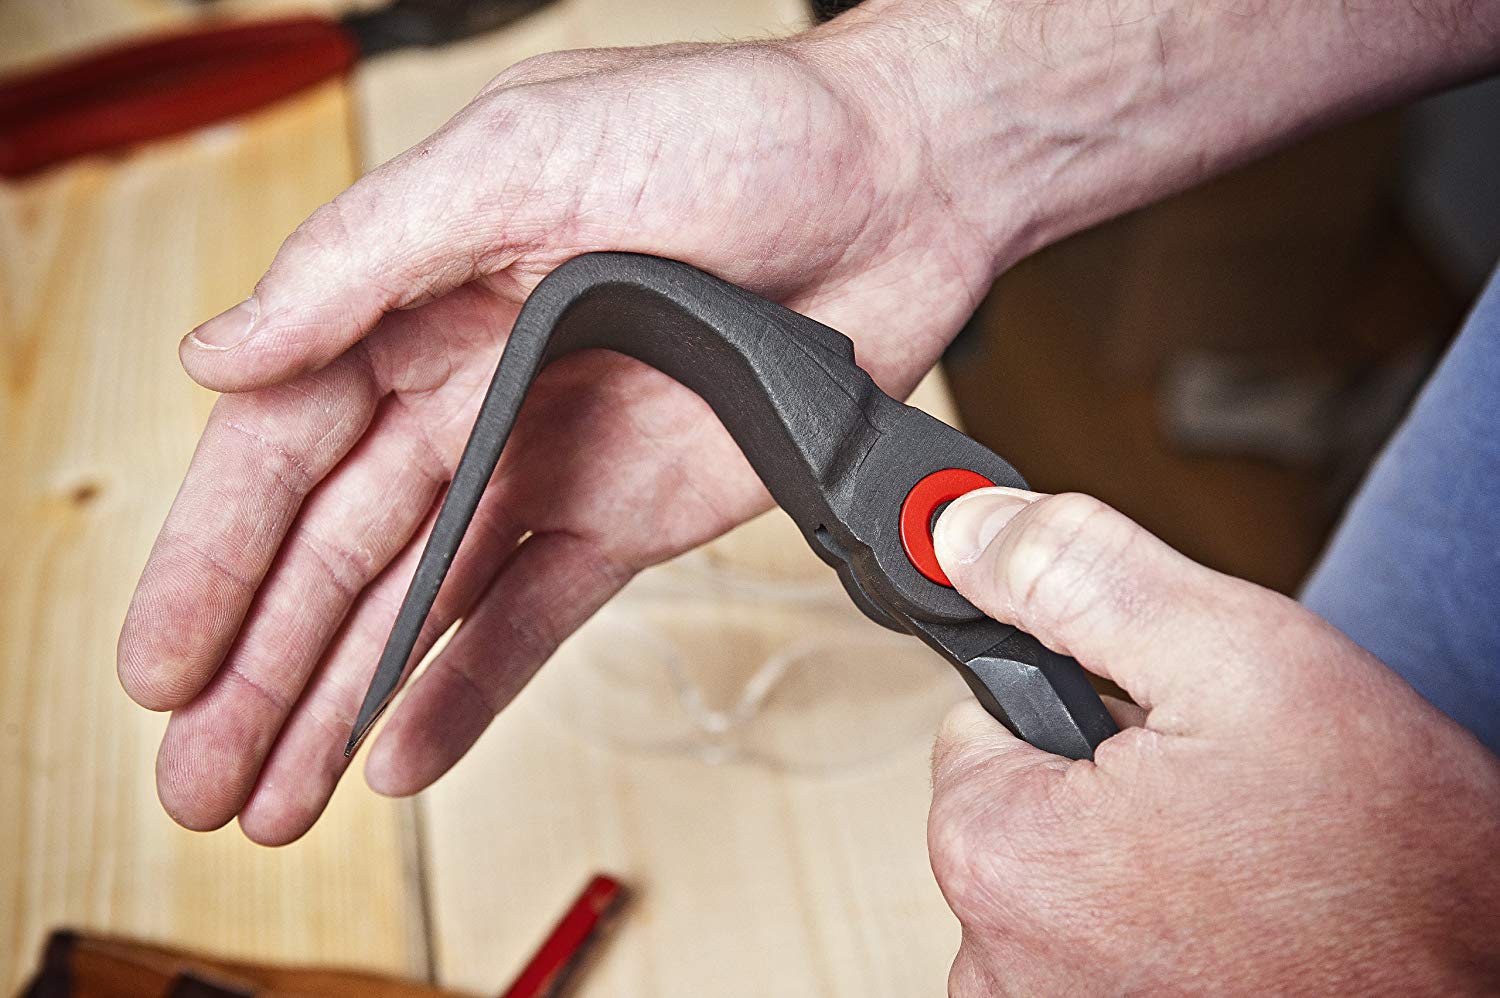
If this is to be the one and only time you change out this drain (here’s to hoping), then you can just use a pair of needle nose locking pliers. The pliers need to be thin enough to fit into the drain and long enough so that you can maneuver the turn from above the drain hole.
Push the pliers down as far as you can while still able to work the arms. Fit the pliers into the spaces between arms of the cross and clamp down on its center, which is the strongest part of the cross, then lock it in place. If you clamp onto one arm, there is good chance of that section breaking off the outer rim.
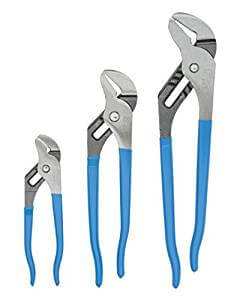
Second Pliers and Turning Out: Once the first set of pliers are locked onto the the cross in the drain, clamp a second set of larger pliers or Channellocks onto the handles of the first set. Try and grab hold as far to the end of the first set of pliers as possible, so as not to interfere with the locking mechanism, then begin a counter clockwise rotation.
After a few complete revolutions, the drain should loosen enough so that you can unclamp the second set of pliers and turn by hand. The thread on a drain plug is extremely long and stretches deep into the drain pipe connection, so complete removal may take a while.
Putty Removal and Reinstallation: Once you have removed the entire drain assembly set it aside on a section of towell you have laid across the tub base. There will likely still be plumber’s putty on the drain and on the edges of the drain hole at the base of the tub.
You will need to remove the old plumber’s putty. Do this using a dry towel to first loosen the bulk of putty. What remains will need to be scraped out with a flat head screwdriver.
With the drain hole open you can complete whatever work needs to be done, whether it be snaking, or switching out the tub completely. When you are ready to reinstall, simply apply new plumber’s putty and reverse the above process.
Conclusion
Pretty simple, right? Drain removal is not all that tricky, and outside of the elbow grease required, it is a pretty straight forward job without much nuance. That said, if you never removed a drain before, or at very least, had the process explained to you, you would not know where to start.
The drain mechanism is hidden, and from where you stand in the shower, looks to be a part of the tub itself. This can be overwhelming. The sight of the drain from above combined with the knowledge that yours will have to come out lest your tub’s drainage be forever hindered by a tough clog, is enough to have you running to a pro.
Fear not. Simply follow the guidelines above, and you will never be forced to pay the hefty labor costs of a plumber for routine tub maintenance again.
Most Read


She Sheds Ideas for Every Budget
Aug 29, 2018

Noise Canceling Curtains: Is This a Real Thing?
Feb 22, 2019

The Best Carpet Choices for Pets
Jan 28, 2019