- No Obligations
- Stop Paying Too Much For Your Contractor
- No Spam Calling
- Screened & ID Checked Contractors only!
How to Texture a Ceiling: DIY Tips
1
 How to Texture a Ceiling: DIY Tips
earlyexperts.net
How to Texture a Ceiling: DIY Tips
earlyexperts.net
The complete atmosphere of a room can be affected by the finish of the ceiling. A ceiling reflects light in the room, and any imperfections or seams are easily seen and can ruin the look of the space. We like to see something uniform above our heads. Painting a ceiling white can hide a lot of minor imperfections, but that is not always the answer to getting the uniform finish you want. For a lot of us, a smooth ceiling is a way to go, as the flat surface gives a clean and polished appearance. With no visible seams in the drywall ceiling cladding, the surface is ideal for painting.
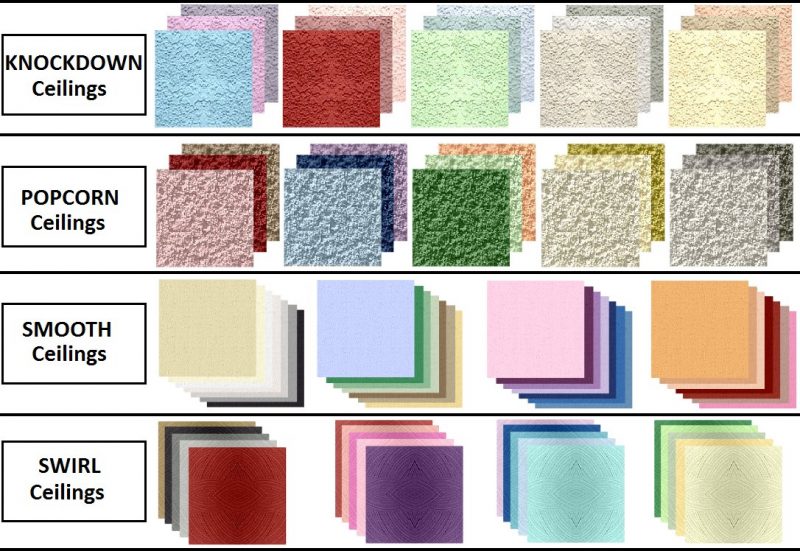
However, over time, even new homes a get ceiling crack due to the building settling. You can try and fill the crack to return the finish to approaching the originally smooth surface, or if the cracks become unmanageable cover them with a textured finish. Adding a textured finish can cover all manner of inconsistencies in a ceiling caused by the building settling or plaster shrinkage. Ceiling textures come in a number of styles, such as knockdown, orange peel, or popcorn.
The popcorn texture can act as a sound barrier as it is one of the best for noise insulation. If you decide to do a number of rooms, then the professional method of spraying the texture onto the ceiling could be the way to go. It is inexpensive but will involve the hire of some specialist equipment, and considerable preparation time. Alternatively, if it is just for one ceiling, then the texture can be applied manually. With the DIY route, all you may require is some drywall compound and a potato masher, or a broom to create the texture.
More complex surfaces are harder to execute, and you may need to hire the services of a contractor to do the more difficult work.
Preparation
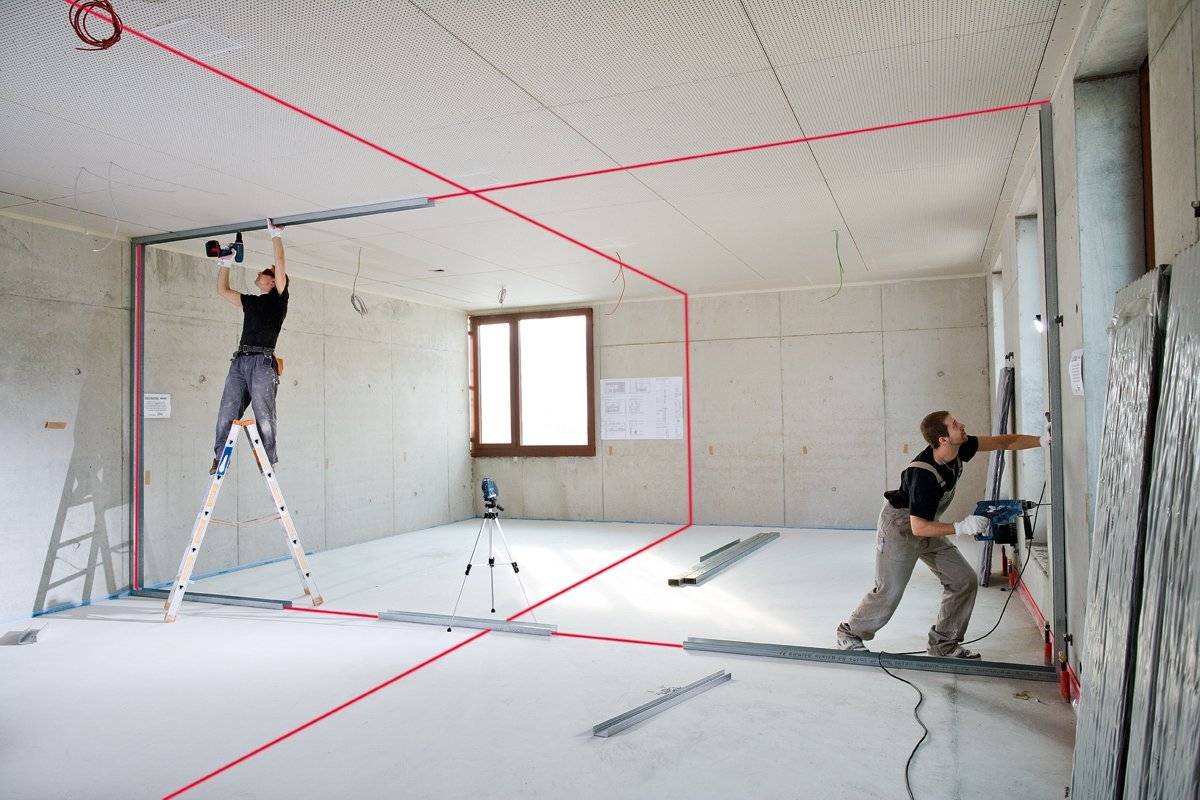
As DIYers around the world have come to realize, you can’t fight gravity, so working on a ceiling means anything below needs to be protected. Before you start texturing a ceiling, make sure the floor and any furniture are covered with drop cloths. Very few ceilings do not come with light fixtures, ceiling fans or vent covers, so make sure they are either removed or well covered before starting to texture.
Then apply a wide painter’s tape or masking tape along the edge of the ceiling where it meets the walls. This will prevent any overpaint from the ceiling. Take extra care to make sure the line is straight and parallel, otherwise, you will find yourself repeatedly staring at the point where things have gone wrong.
Before the actual texturing of the ceiling, it is always a good idea to prime the area to be covered. Priming the surface will make applying the paint texture easier, and it should be long-lasting. Primers come in a range of colors, so pick one close to the texture color you intend to apply to the ceiling. White is probably the most common. Paint a light coat of primer over the surface to give a consistent layer, and allow it to dry following the manufacturer’s instructions.
Getting the paint ready
The simplest option is to buy a pre-mixed textured paint, which will give you a subtle texture that will look good in most situations. However, if you want something special, with more depth and effects, then you can mix your own using paint and drywall mud. The standard mixture for homemade paint texture is ten parts paint to one part drywall mud. Pour the paint you are going to need into a bucket and add the drywall mud, and blend the two together until the mixture has the consistency of a batter. If you are looking for a more sculpted texture then you may want a thicker consistency, so why not experiment with small batches first until you have the right recipe.
Texturing with paint
No matter what degree of texturing you want to apply to the ceiling, then it is best to start with the least noticeable part, this can be the darkest corner or the edge nearest the door. Getting the position of your ladder is crucial so you can cover a substantial area without straining backward. There are four specific types of texturing that are commonly used on ceilings; each has its own method of application and tools to use.
Subtle: If you are looking for a texture that does not overpower a room, then it is best to start with a pre-mixed textured paint product. Start by cutting the edges with a paintbrush up to the masked area. Then use an extended roller to apply the paint over the whole surface, getting as close to the edges as possible.
For this job, you can buy a specialty roller that has its own texture. These rollers will create an irregular pattern as they apply the texture paint. You can experiment with more than one pattern by applying extra coats.
Stucco: Using a thick paint mixture you can create as stucco effect quite simply on the ceiling using a damp cloth or sponge. Take some of the mixtures and apply it to the ceiling with a compound knife or small trowel. Once applied dab it repeatedly with the sponge to give the stucco look you are looking for. It is best to do a small area at a time, and try not to make the pattern too uniform.
Artistic: If you have a central lighting fixture, for example, you may want to make that the focus of the ceiling, and that can be done with drywall mud and texturing combs. It is a good idea to have a range of combs of different sizes from three to ten inches wide. Apply a thin layer of the drywall mud, without paint, to the ceiling, and then use the combs to create concentric circles around the light fixture.
Working the drywall mud with the combs will make it look like Victorian plasterwork, and can certainly enhance an older property. Once the drywall mud is completely dry, it can be painted. This method requires a more expert DIY touch, a steady hand and a sense of style to pull off, so do some research and experiment before tackling the ceiling.
Popcorn: This retro look is best achieved with a drywall texture sprayer. Because you are going to use a spray gun, the walls and floors and any furniture not removed from the room need to be covered with plastic sheeting. The particles of texture will fly everywhere if you are not careful, so make sure that the perimeter of the room is well masked with painters tape and sheeting. The texture sprayer comes with a selection of nozzles for different spray patterns and applications, so choose the one you that best suits the look you are after. It’s then just a matter of loading up the sprayer and slowly covering the surface of the ceiling, making sure there is even coverage, and an irregular pattern.
Video tutorials
Most Read


PODS Moving Cost & Pricing 2024
Apr 06, 2021