- No Obligations
- Stop Paying Too Much For Your Contractor
- No Spam Calling
- Screened & ID Checked Contractors only!
Painting over interior stone: tips & products to use
0
 Painting over interior stone: tips & products to use
earlyexperts.net
Painting over interior stone: tips & products to use
earlyexperts.net
Faced with the task of spiffing up your fireplace or resurfacing a basement floor, it is easy to become discouraged at the prospect of some heavy masonry work. That said, there are some less difficult, do-it-yourself options that can put a fresh spin on stone work without a huge expense to time or money.
One of these that is often overlooked is paint. Yes, that’s right. Stone work will take a coat of paint just as easily as a wall or wooden piece of furniture, so long as you take the necessary steps in preparation and choose the right materials.
In this article, we outline the job from start to finish to help you keep your stone work looking like new without the cost of professional masonry work.
What You Will Need
The hardest part of stone painting is often getting started. First and foremost, make sure you have all the necessary tools and materials to get the job done right.
- Vinegar
- Stiff-bristled brush
- Spray bottle with fresh water
- Paintbrush
- Primer
- Stucco paint
- Large nap roller
- Paint tray
- Drop cloth
- Painter’s tape
1. Reparation
Wash the stone surface using the vinegar. Douse the stone liberally, then with the stiff-bristled brush clean the stone surface as well as the grout lines of all markings and stains.
Not only will this help you return your stone to a blank canvas that is best suited to take on a fresh coat of paint, it will also score the stone face so that the paint sticks better with fewer coats. Allow to dry and repeat as necessary.
2. A Slick Surface
Using a spray bottle and some clean water, dampen the surface with a light mist. Stone is naturally porous so a dry stone will soak up the paint too deeply. A light layer of water will act as a buffer for the paint, otherwise it may take multiple coats before any color is actually able to sit at on the stone face.
3. Priming
While priming is optional, it is certainly recommended for a couple of reasons. Namely though, if you are using a light color over a dark stone, priming will limit the amount of coats needed to arrive at the intended hue.
Use a large nap roller and lay the primer on thick. You may need to brush the primer over the grout lines as these can easily bleed through the paint if not adequately covered with primer first.
4. Paint
Choose a latex acrylic stucco paint and paint a fresh coat over the primed surface. Use a new, thick nap roller and roller tray. One or two coats should do the trick if you have followed the previous steps closely.
As stone can be easily nicked and divots can form, it is important to brush back over any small crevices to ensure a complete cover. Use the brush to dab paint over those areas if they are not covering the first time.
Conclusion
And that’s all folks! An easy solution for finicky stone surfaces. With this process, any and all stone work in your house can receive a full, professional looking makeover that can seriously transform the aesthetic of a room at a fraction of the cost of a full masonry venture.
Most Read

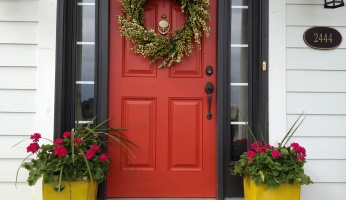
Front Door Color Ideas You Will Love in 2024
Sep 30, 2021

The Best Carpet Choices for Pets
Jan 28, 2019
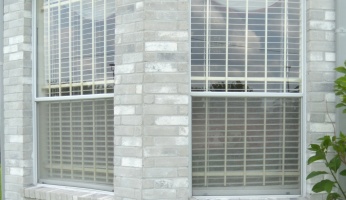
Window Security Bars: Types and Cost
Apr 06, 2021