- No Obligations
- Stop Paying Too Much For Your Contractor
- No Spam Calling
- Screened & ID Checked Contractors only!
Painting Shutters: Best Paint Type and How to Go About It
0
 Painting Shutters: Best Paint Type and How to Go About It
earlyexperts.net
Painting Shutters: Best Paint Type and How to Go About It
earlyexperts.net
If windows are the eyes of your home, then shutters are the brows and lashes that highlight those bright, baby blues. But there this subtle detail to your home’s overall aesthetic can be a huge detriment to curb appeal if they are not maintained.
Just as an unkempt unibrow forces you to double take for all the wrong reasons as you pass a bathroom mirror, dirty or chipped shutters can be seriously unwelcoming as guests approach or neighbors pass by your house.
So what is the best way to ensure your home’s face is well groomed? Well, a little paint goes a long way.
Painting your shutters can extend shutter life for years and clean up the look of your whole house. But with so many shutters, and the intricacy of many shutter types, it is easy to become overwhelmed at the prospect of this job.
Don’t fret. In this article, we outline a step by step process for painting your shutters including shutter removal, cleaning, paint selection, and the paint process itself.
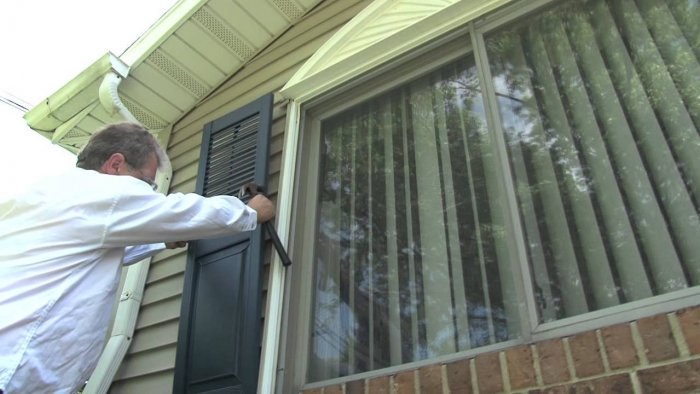
Shutter Removal
Certainly you can paint your shutters while they are still attached to the house, but this requires a lot of detailed taping off of the shakes and windows. Instead, remove the shutter so they can be cleaned, sanded, and coated on all sides and at all angles.
Most shutters are secured with a simple screw. Once removed though, it is important to immediately mark the outline of the shutter on the house so it can be easily replaced in the same spot.
With the shutter off of the house, remove any hardware or hinges (if they are working shutters) to make the painting process that much easier.
Cleaning and Sanding
The majority of dust, dirt, grime, and chipping can be removed with a little water. If you are feeling ambitious and are prepared to get the shutters stripped down to bare bones, you can employ the use of a power washer.
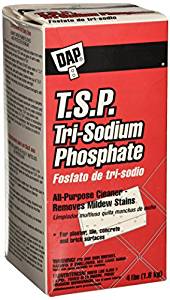
Whatever is left on the shutter after spraying can be cleaned with trisodium phosphate. Any paint chipping, rough spots, or dings can be sanded smooth and flush before painting.
It is also a good idea to patch deep cracks and holes as needed. For this, use a wood putty that is natural in color to the innate hue of the wood. If you are painting a color you can also just use white putty. Sand the puttied locations smooth and make sure to wipe dry and clean of dust before beginning to paint.
Selecting Paint
When selecting paint, it is important to consider the type of shutters you have on your house. There are generally two types of shutters: wood and vinyl. Each of these shutter types has an accompanying paint type manufactured specifically for this purpose.
In some cases, shutters, especially on older homes, are metal or aluminum. These paints may be trickier to find at your local hardware store but they certainly exist and can likely be found online.
For wood shutters, make sure you are using exterior wood paint. This paint will be more universal than those made unique to shutters.
Make sure you choose a shade the is the same or lighter than the existing color if you are painting to color vinyl. This is the same rule of thumb used when painting vinyl siding. The vinyl used is unique to the color of the material in that lighter shades will be less heat absorbent and darker colored vinyl will withstand heat better.
If you paint a light colored vinyl shutter with a dark paint, the shutter will attract more sun than it is capable of withstanding, and the material can warp or buckle.
Painting
Now that it is time to paint your shutters you have a couple of options to consider with respect to technique.
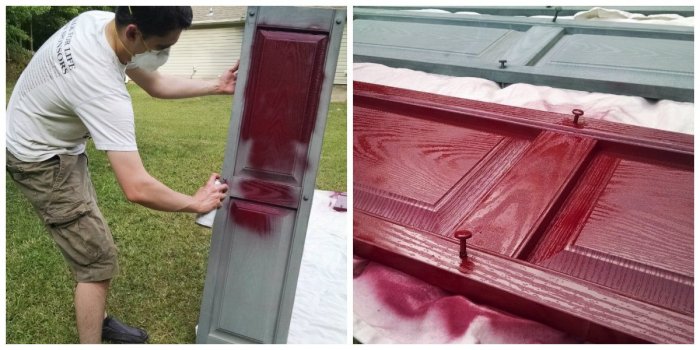
For the best results, and a nice even coating, a sprayer is the best option. Be weary of over the counter sprayers, especially those that are cordless. There is a reason why they are inexpensive and easily accessible. The better option is to head down to a local rental center and pick up a professional grade sprayer for the day.
If you have done some extensive sanding and repair on wood shutters, or if you have power washed the shutters down to their purest form, than you will want to prime them first.
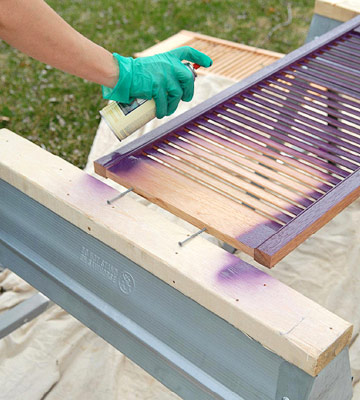
No matter the painting method you choose, it is easiest to lay the shutters across a surface above the ground like on a pair of sawhorses. Start from the top and work your way down, first horizontally across the slats, and then vertically, up and down the framing.
Once the paint has completely dried, flip the shutter and repeat the process to the otherside. Painting both sides may seem wasteful since only one side is seen, but the paint acts as another layer of protection and will help you shutter withstand to weathering.
Apply additional coats as needed, hang your shutters back in place, and revel in the beauty of your home’s facelift.
Most Read


How to Avoid Renovation Scams
Apr 06, 2021


How to Remove Spray Paint from Skin and Surfaces
Sep 17, 2018