- No Obligations
- Stop Paying Too Much For Your Contractor
- No Spam Calling
- Screened & ID Checked Contractors only!
Why Charred Wood is the Perfect Accent for Your Home Decor
0
 Why Charred Wood is the Perfect Accent for Your Home Decor
earlyexperts.net
Why Charred Wood is the Perfect Accent for Your Home Decor
earlyexperts.net
Wood grains are beautiful. There is no doubt about that. And nothing is quite as timeless, holding up every design trend across every decade in history, as wood finishes.
Hardwood floors are not preferred to wall-to-wall carpeting, and with the exception of the shabby chic craze, which effectively masks extremely distressed pieces with a thin coat of white paint, stained wood furniture seems more in vogue than that which is painted.
With that in mind, some home decorators are taking the wood obsession to the next level as they seek natural finished pieces with a unique twist.
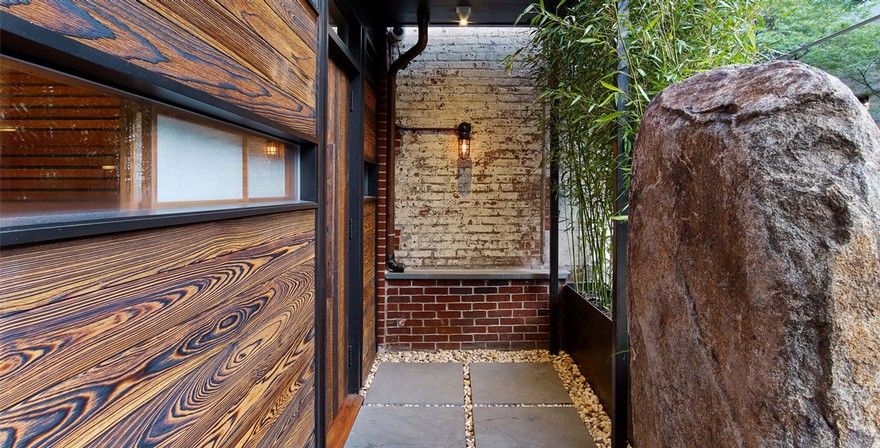
One such twist is the charred wood phenomenon.
Charred wood is exactly what it sounds like. The centuries-old Japanese technique began as a means by which wooden shakes and shingles could be preserved from weather and insects.

Today’s charring is no less painstaking a process than that of the origin story. Each plank must be charred individually, then scraped with a stiff brush and sealed.
But as the old saying goes, good things come to those who wait, and charred finishes are certainly good. Here are a few reasons to consider charred surfaces around your home as well as a quick do-it-yourself guide to burning.
Feel the Burn
One reason to consider charred surfaces on furniture, and even as your home’s exterior siding is for the very same reason the technique was initiated all those years ago.
Beyond the aesthetic of charred wood, which is just downright cool, the burning strengthens wood and ostensibly weather proofs it. In this way, it is a much better option than the green tinge of pressure treated lumber for outdoor furniture, and especially unique as a siding.
The best part of modern charring, however, is the variety. When you commission a charred piece of furniture you choose the timber, the degree of char, and the finish. From slightly roasted along the wood grain to burnt completely black, with a matte or glossy finish, there are charred options to meet any preference.
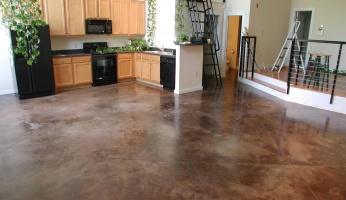
Charred wood is also super versatile. Carpenters specializing in charred wood, otherwise known as charring technicians, contribute planks to all types of projects from tables and chairs and even as kitchen counters.

Part of the reason why charred wood works so well as a natural building material is that the charring locks in the color, so you do not have to worry about fading or the hue change that takes place with cedar and pine as time goes on.
In this way, it is pretty low maintenance, at least after the hard work of the burning is done. You may never have to oil or refinish your scorched dining room table, no matter how many meals you host.
While the charring process does change the general properties of the microfibers within the wood, theoretically sealing them off from the dangers of oxygenation, this does not affect the hardness of the wood all that much.
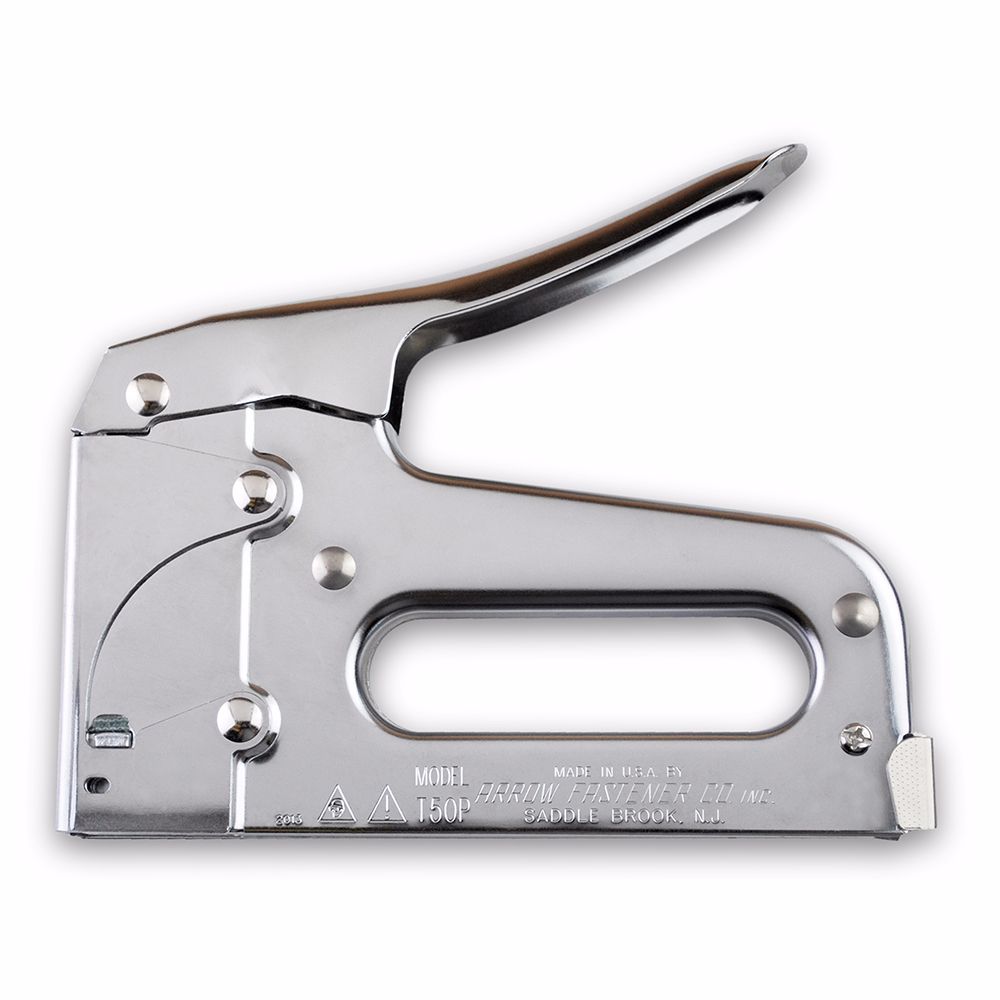
Burnt wood is still relatively easy to work with and any construction can be done with conventional nails and screws.
On Your Own
If you are the type that likes to test the limits of their handyman skills, then this next section is for you. Here is how you can put a char on your next at home project.
✓ First, select your wood. The best woods for burning are cedar and Douglas fir because they are softer.
✓ With the lengths you need for whatever it is you are using the planks for measured out, fire a blowtorch over the wood’s face until it reaches the desired char. Start farther away from the plank and work your way closer if you aren’t getting the level of burn you desire. You can always charr a piece more, but never the other way around.
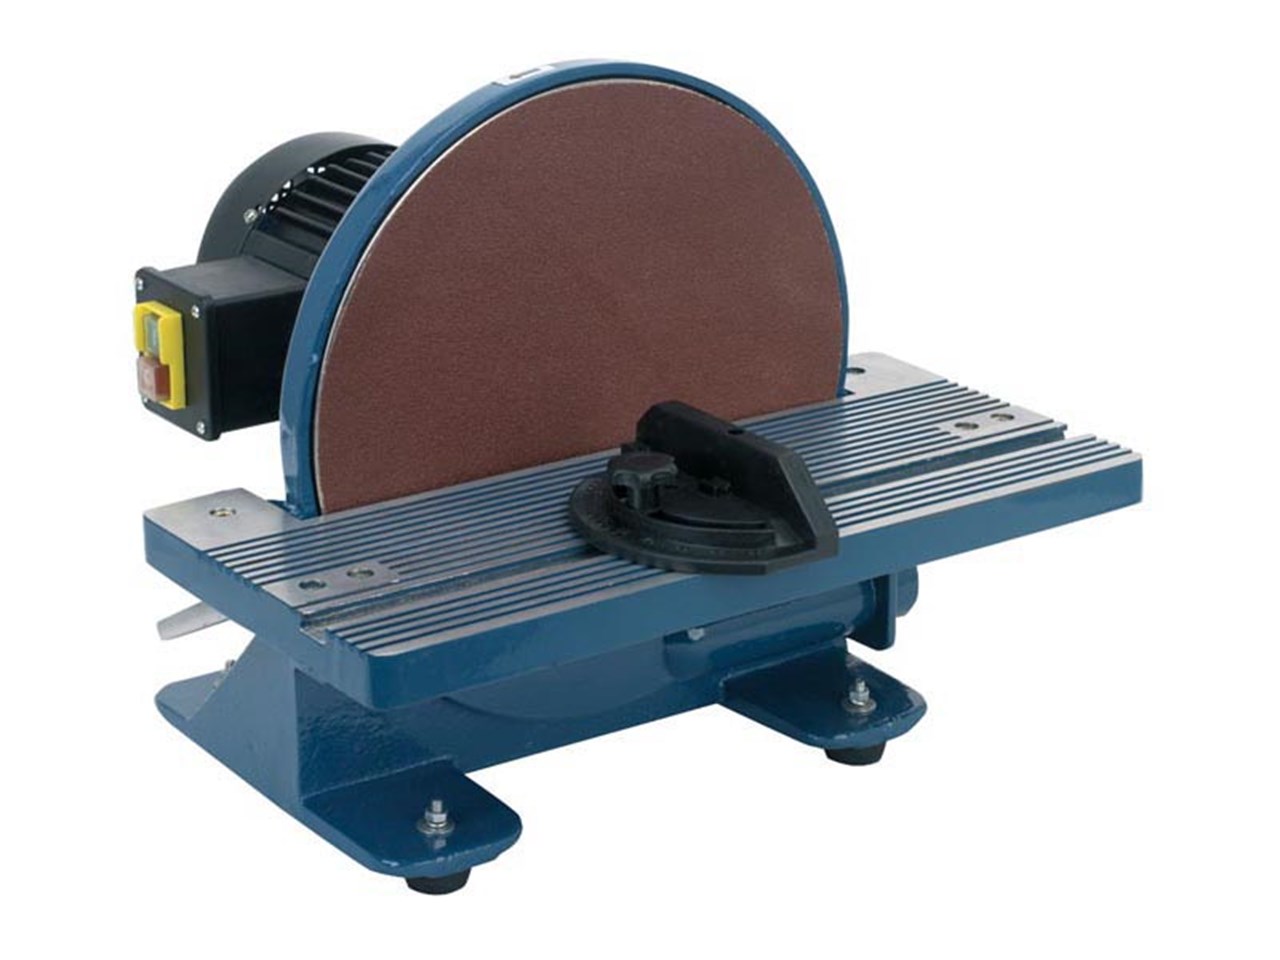
✓ Unless you are going full alligator skin burnt, scrub down the plank with a wire brush once you are done charring. This will reveal any spots you may need to go over.
✓ With the charring complete, it is a good idea to put some kind of clear coat finish over the wood. This further seals the plank and keeps any loose soot from shedding off the wood. Use a water based treatment for a matte finish. If it is gloss you are looking for, try an epoxy kit.
Most Read


5 Smart Home Devices for Easy Living in 2024
Apr 06, 2021